Even though BackTrack is no longer being maintained (now Kali), you can still download and use the last version.
Once you have the BackTrack ISO installed and on a disk, here is the step-by-step process on how to install it to the drive.
When first booting the disk, hit enter.
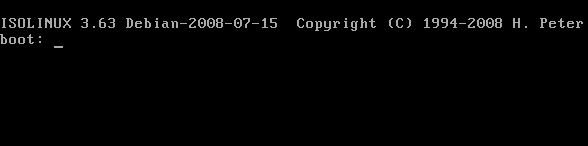
Next, you can wait 30 seconds for the automatic boot or hit enter to speed things up. This will load the default text mode.
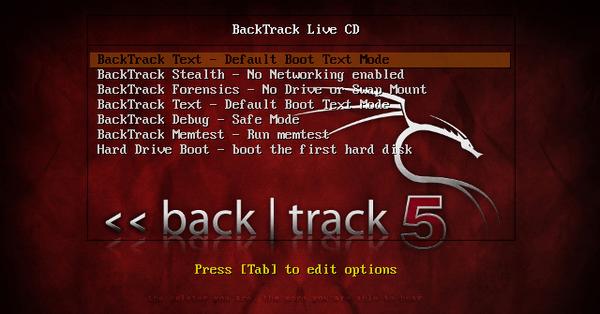
Wait for BackTrack to boot into text mode. Type startx and hit enter to load the GUI.

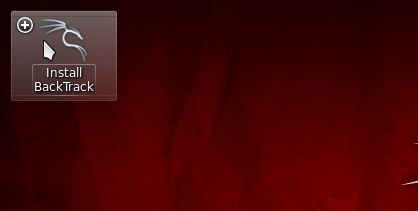
Once the desktop loads, you can click on the Install BackTrack icon to start the installation.
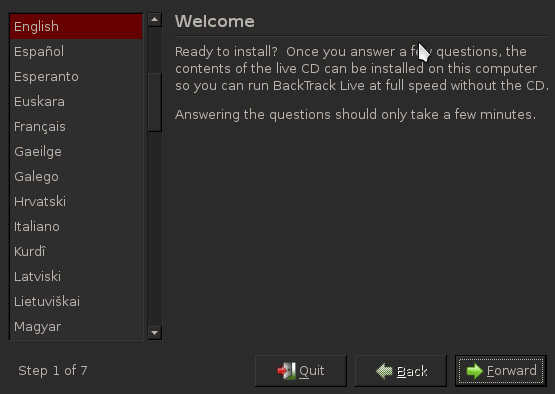
Choose your language on the left side and select Forward in the bottom right corner.
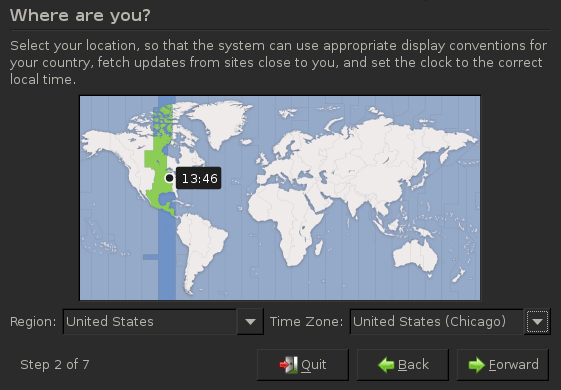
Select your Region and Time Zone. Click Forward when set.
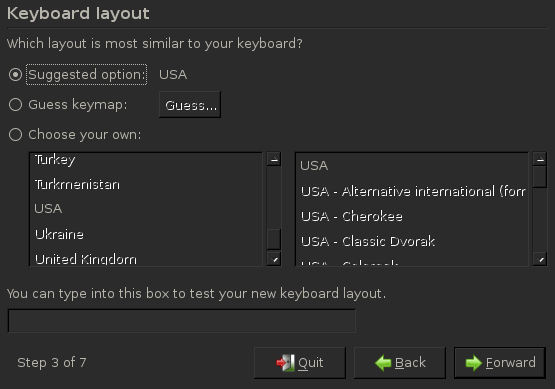
Choose your keyboard layout (default layout is USA). When set, click Forward.
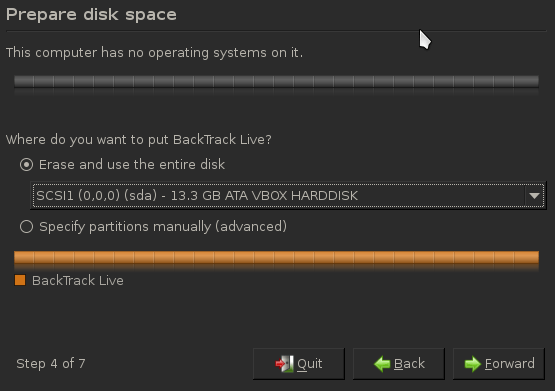
Select whether to use entire disk (erasing anything previously written on the HDD) or create a manual partition. Once selected, click Forward.
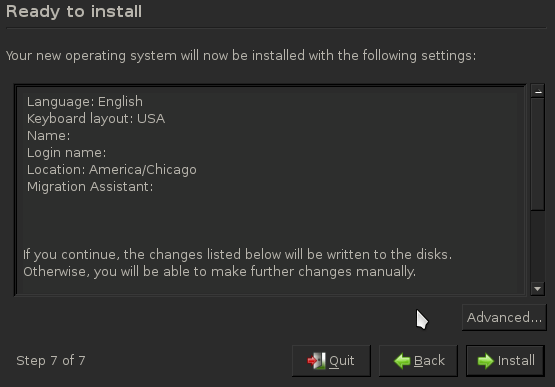
Double check your settings. If ready, click Install.
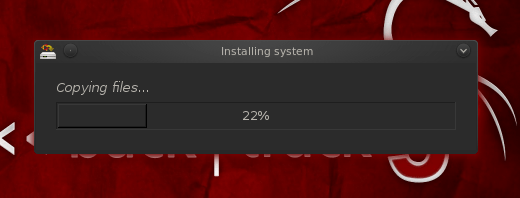
BackTrack will now install to the drive.
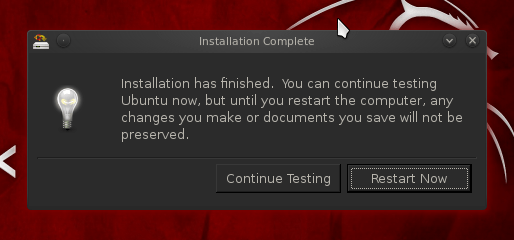
As soon as the installation is complete, you will be required to reboot the system.
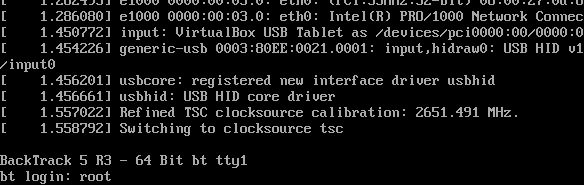
Once the system reboots, you must log in.
Login: root Password: toor
Once logged in, you will be back in text mode. Type startx to continue to the GUI.
Congratulations, you have successfully installed BackTrack 5 to your system.