Ubuntu Server is great software and best of all – it’s free. If you’ve never had the chance to work with this software, now is the best time.
To install the newest version visit Ubuntu.com
Ubuntu Server takes very little to run. Here are the system requirements.
Installation
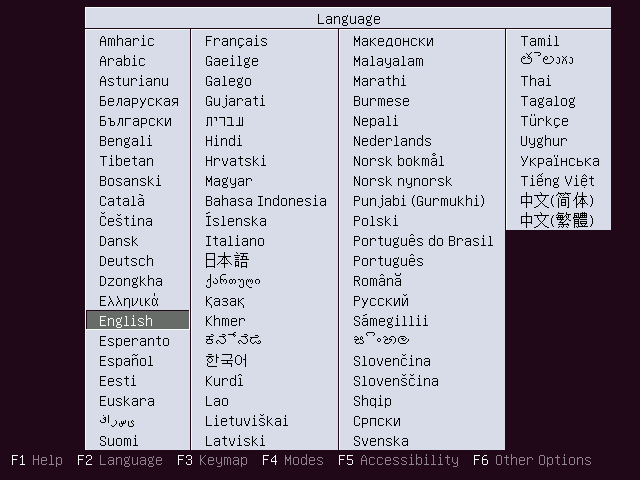
Select your language to begin.
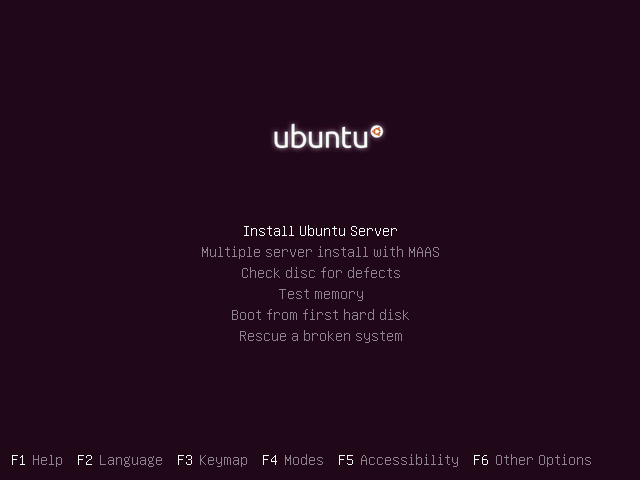
Choose what you would like to do (Install Ubuntu Server).
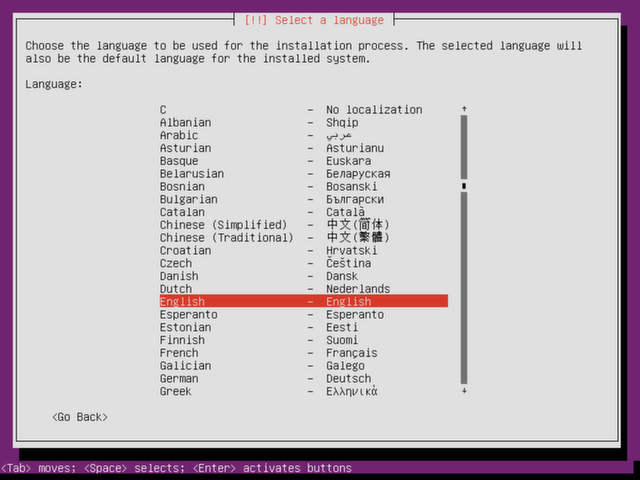
Select your language for the installation.
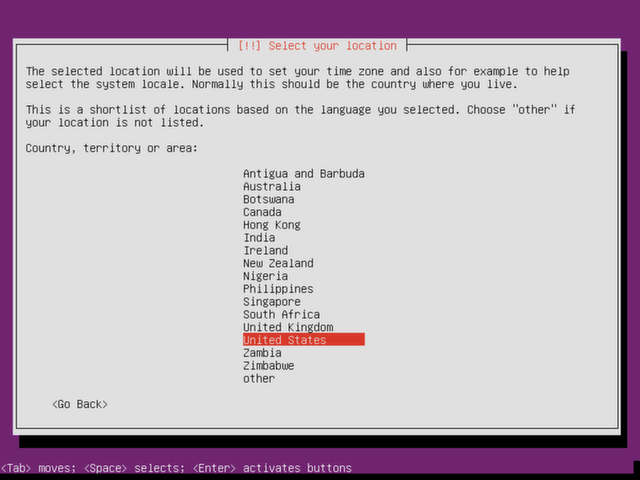
Select your location.
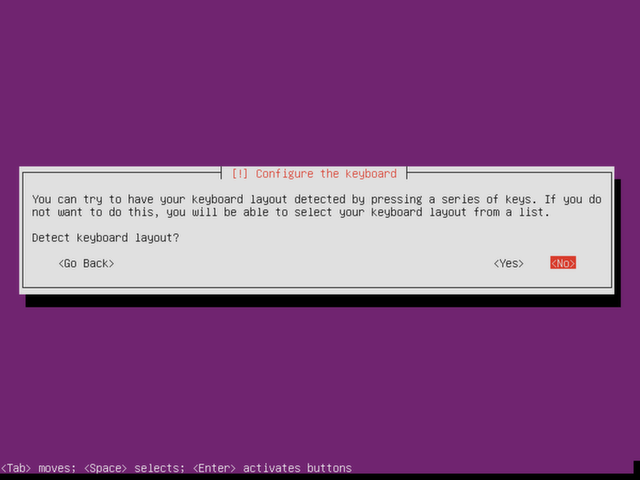
Choose if you want to detect the keyboard layout through some tests (in most cases, select no).
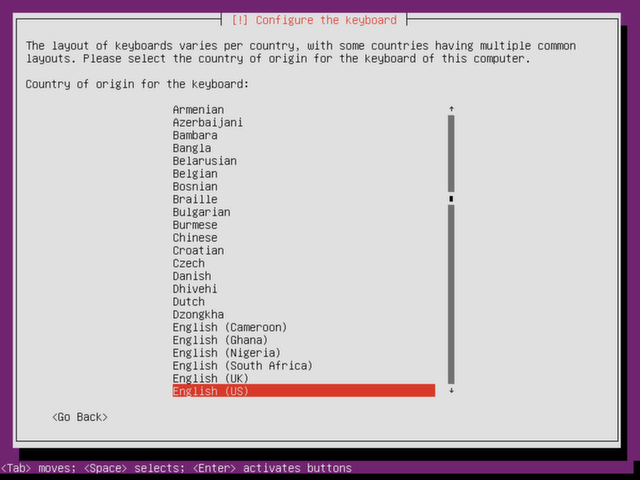
Choose your keyboard’s origin (country).
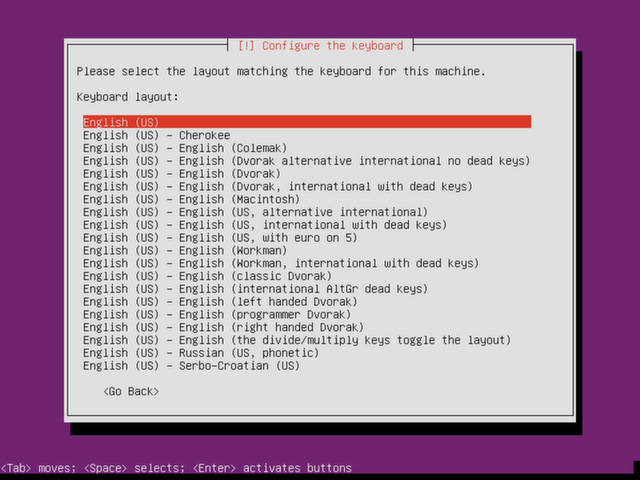
Again, select your keyboard layout one last time.
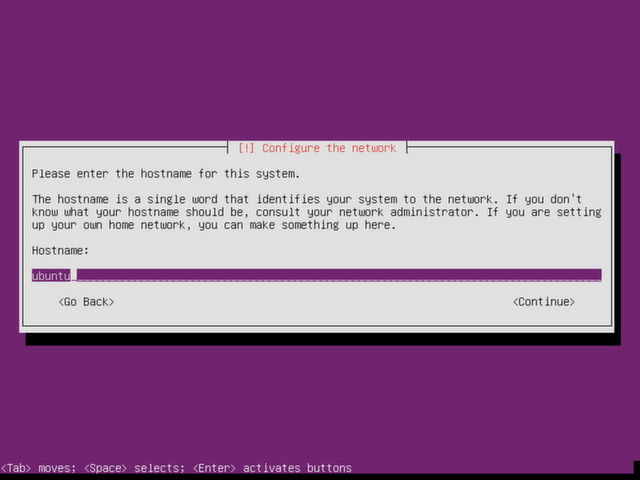
Components will now load and you will be prompted to enter in a hostname for the (network) server. You can choose any name you wish.
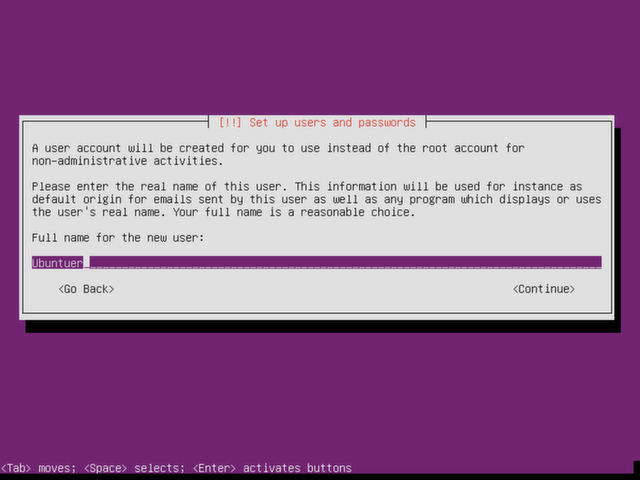
Choose a user account for the server. You can typically use your full name here.
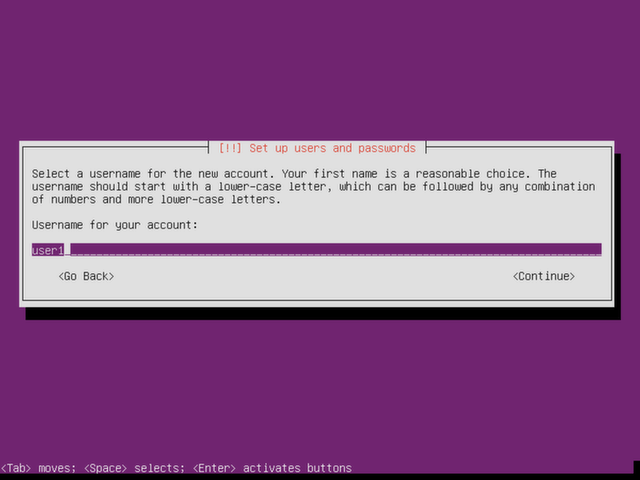
Create a username for the user account and a password for the username – then re-enter password to verify.
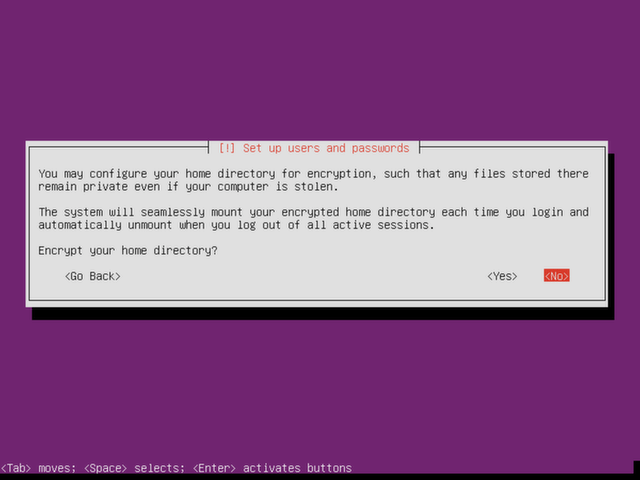
Decide if you would like to encrypt your home directory. In most cases you don’t need to but if you want – go for it.
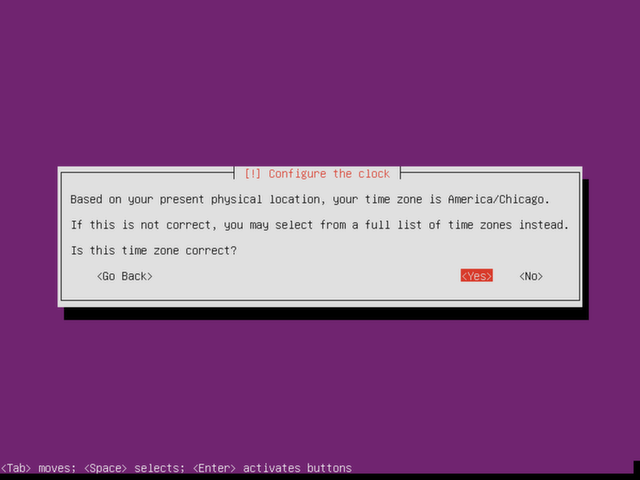
Select your time zone for the clock configuration. If connected to the internet, it should auto detect the correct time zone.
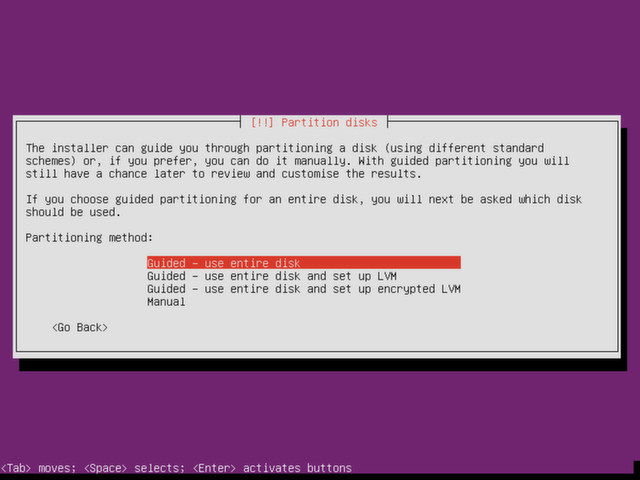
Select a partitioning method. If you would like to know more about LVM and what it’s all about, check here. If unsure, option 1(use entire disk) is fine.
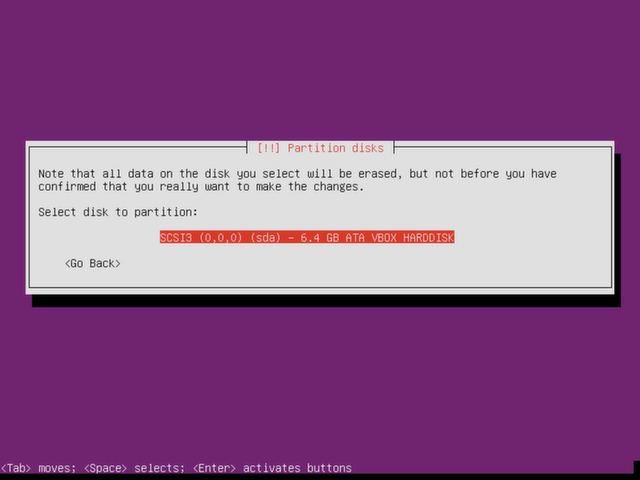
Confirm the disk you want the data to be stored on. This will delete any other data on the partition.
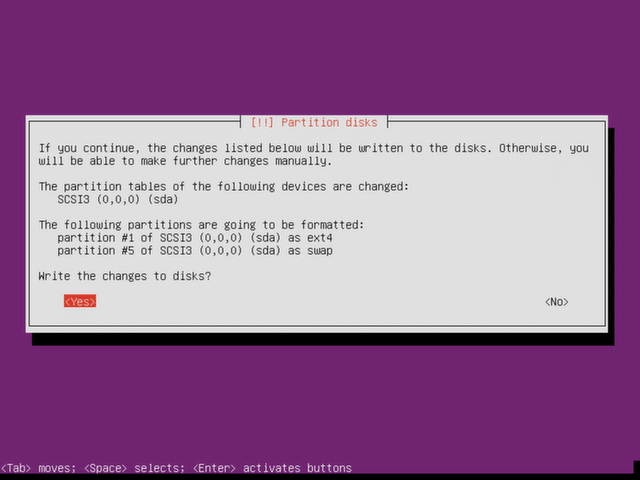
Confirm that you really want to write changes to the disk. Choose yes if you’re sure you want to continue installing.
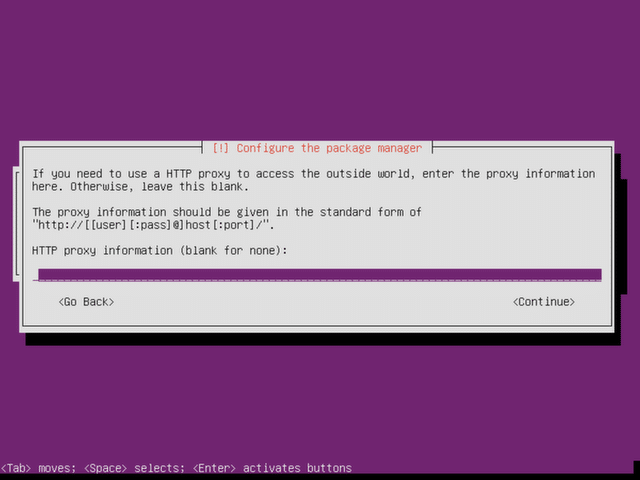
Ubuntu Server will now begin installing to the machine. During installation, you will be prompted to choose a proxy server. In most cases, you will leave this blank – otherwise, choose a proxy server of your choice.
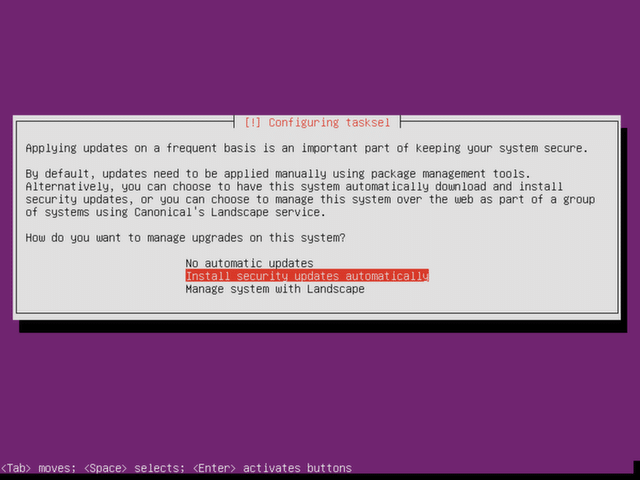
The installation will continue. You will be prompted to select update options. In most cases you will choose to install security updates automatically.
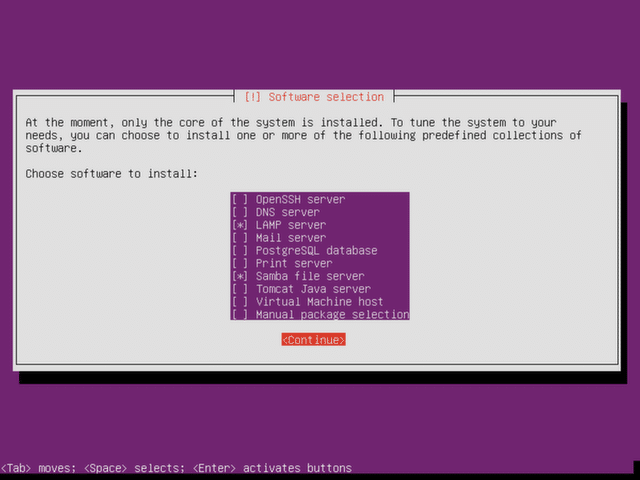
Select which packages you would like to install.
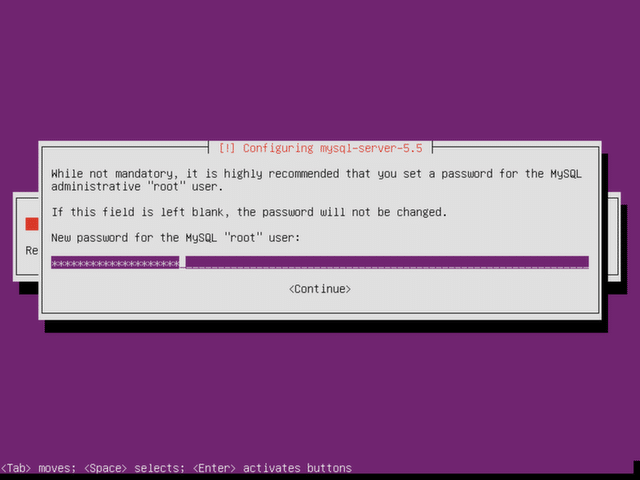
If packages have been selected, installation will continue and you may be prompted to create more passwords.
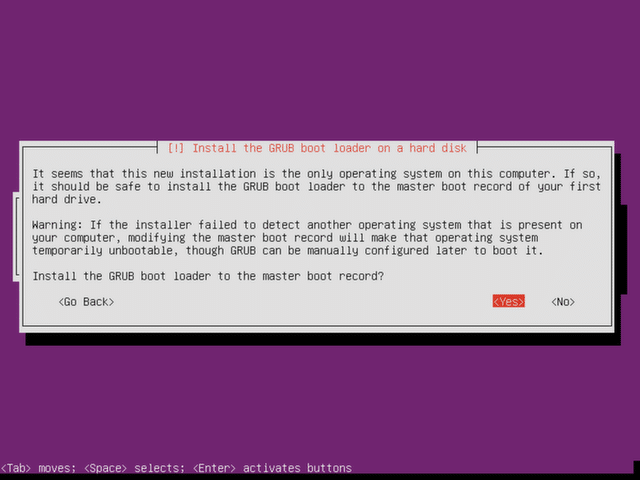
Install the GRUB boot loader. What is the GRUB boot loader?
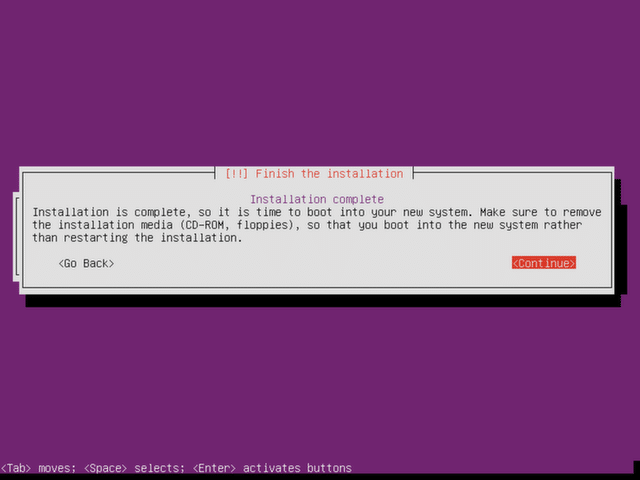
The installation will now complete and you will be prompted to restart for it to take effect.
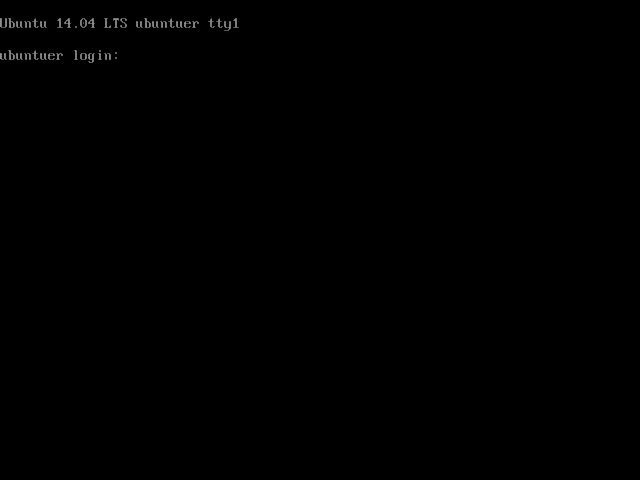
Once restarted, the Ubuntu Server will now boot up and is ready to use!
Have questions? Check out the frequently asked questions about Ubuntu Server.